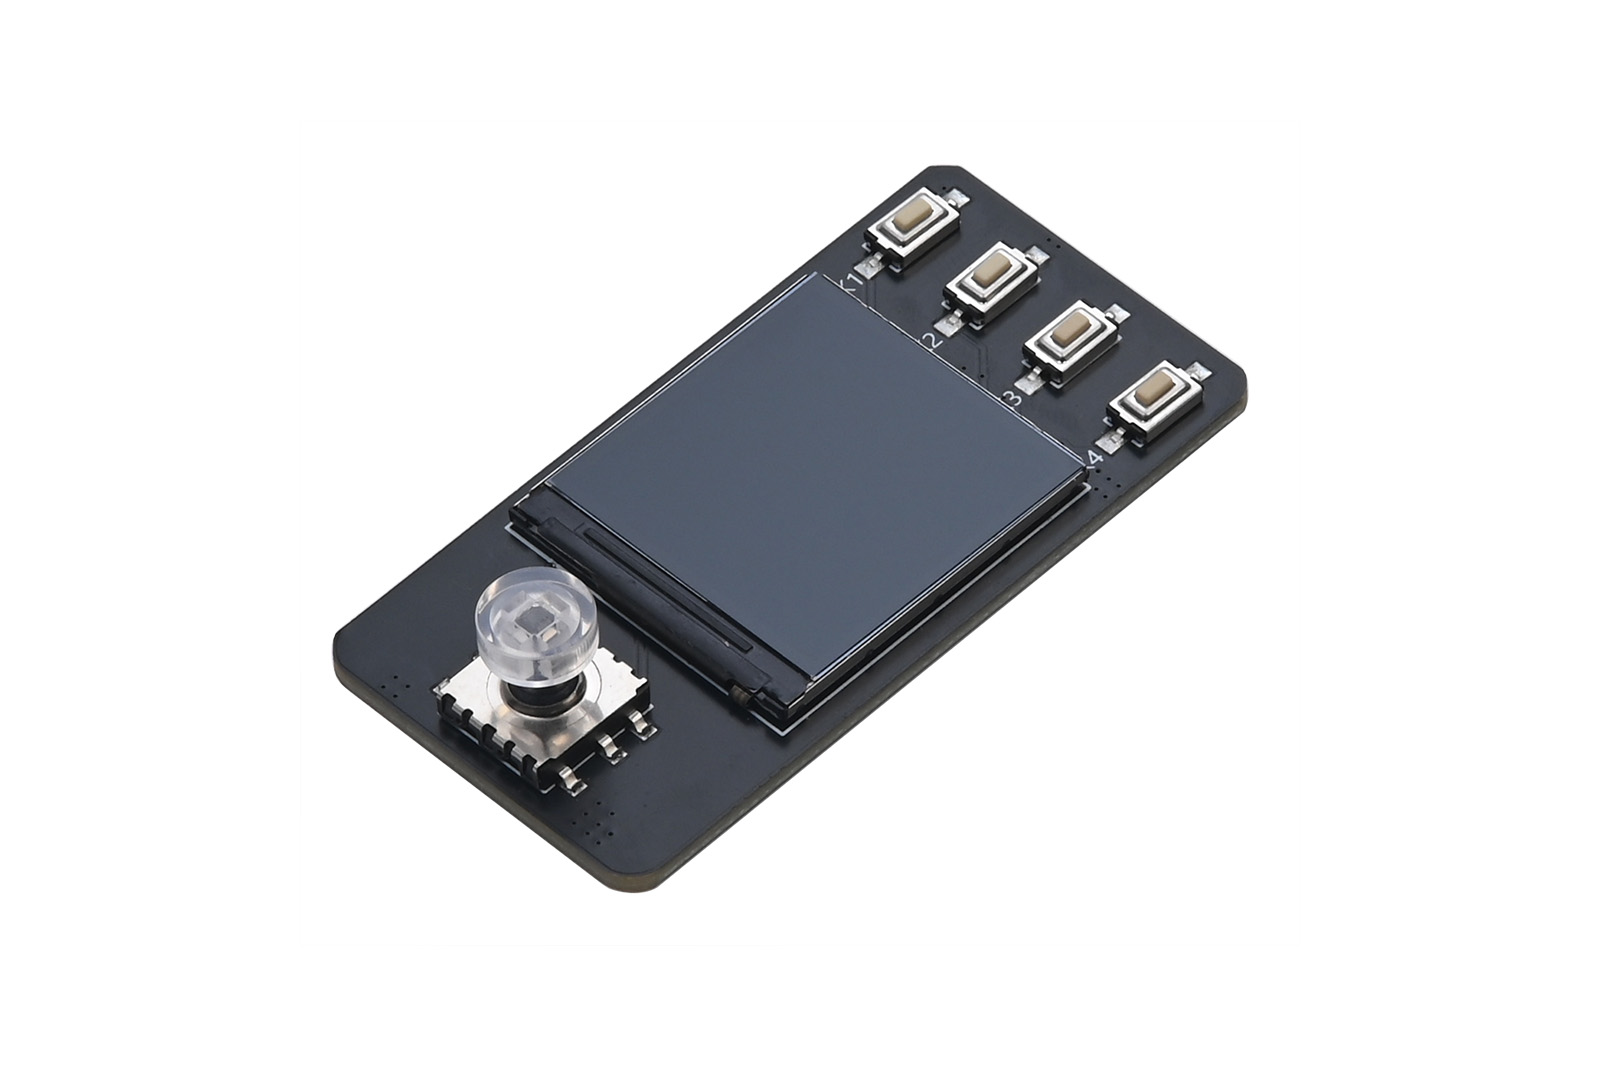
This 1.3inch LCD display utilizes an SPI interface, features a resolution of 240 x 240, an integrated ST7789 controller, a five-way joystick, and four buttons. We provide demo code for the Raspberry Pi Pico.
1.Product Features
- Built-in ST7789 controller
- 240 x 240 resolution
- Uses SPI interface, requiring fewer pins
- Provides example programs for Raspberry Pi
- Onboard joystick (5-direction) and 4 buttons
2.Product Specifications
Specification | Details |
Model | Pico 1.3INCH LCD Display |
Chip | ST7789 |
Operating Voltage | 3.3V |
Color Display | RGB 65K colors |
Resolution | 240 x 240 |
Communication Interface | 4-wire SPI |
LCD Display Area | 23.4mm (L) × 23.4mm (W) |
Dimensions | 29mm (L) × 26mm (W) |
LCD interface | Pin function | Description |
VCC | VSYS | VDD(3.3V) |
GND | GND | GND |
SDA | GP7 | SPI data input |
SCK | GP6 | SPI clock input |
CS | GP5 | SPI chip selection, active at low level |
BL | GP13 | backlight control |
D/C | GP11 | Data/command control pin (high level represents data, low level represents command) |
RESET | GP12 | External reset pin (low level reset) |
K1 | GP8 | User button K1 |
K2 | GP4 | UserbuttonK2 |
K3 | GP3 | UserbuttonK3 |
K4 | GP2 | UserbuttonK4 |
LEFT | GP16 | joystick's Left button |
DOWN | GP20 | joystick'sDown button |
RIGHT | GP19 | joystick'sRight button |
CENT | GP17 | joystick'sCenter button |
UP | GP18 | joystick'sUp button |
3. Usage
3.1 Download and Install Thonny
- Download the Thonny installation package from: https://thonny.org
- After installing Thonny, while the power is off, press and hold the BOOTSEL button on the Raspberry Pi Pico. Use a Micro USB data cable to connect the Raspberry Pi Pico to the computer. The computer will recognize it as a RPI-RP2 storage device. Drag and drop the .uf2 file into the RPI-RP2 drive.
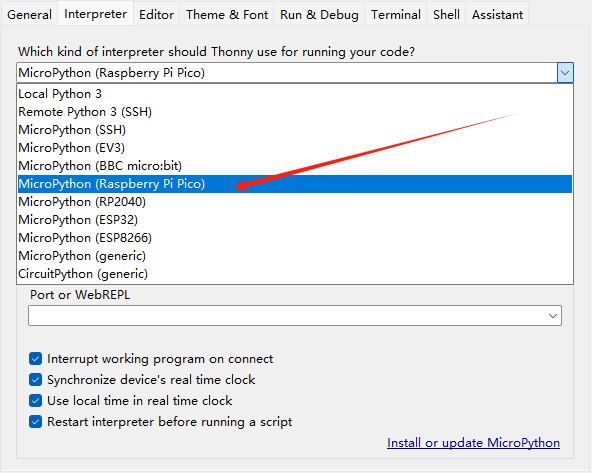
- Open Thonny. In the top menu bar, select Run → Configure interpreter.
- In the Interpreter field, choose MicroPython (Raspberry Pi Pico) as the interpreter.
- Set the Raspberry Pi Pico's port (COMx, where x is the port number recognized by your computer).
- Then click OK to save the settings.

3.2 Demonstration Code
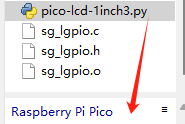
Open the directory where the demo files are located and upload the example program to the Pico.
Click the "Run current script" button or press F5 to run the current script and observe the LCD screen.
When the display enters the button interaction interface, you can press the buttons on the board to observe changes on the screen.